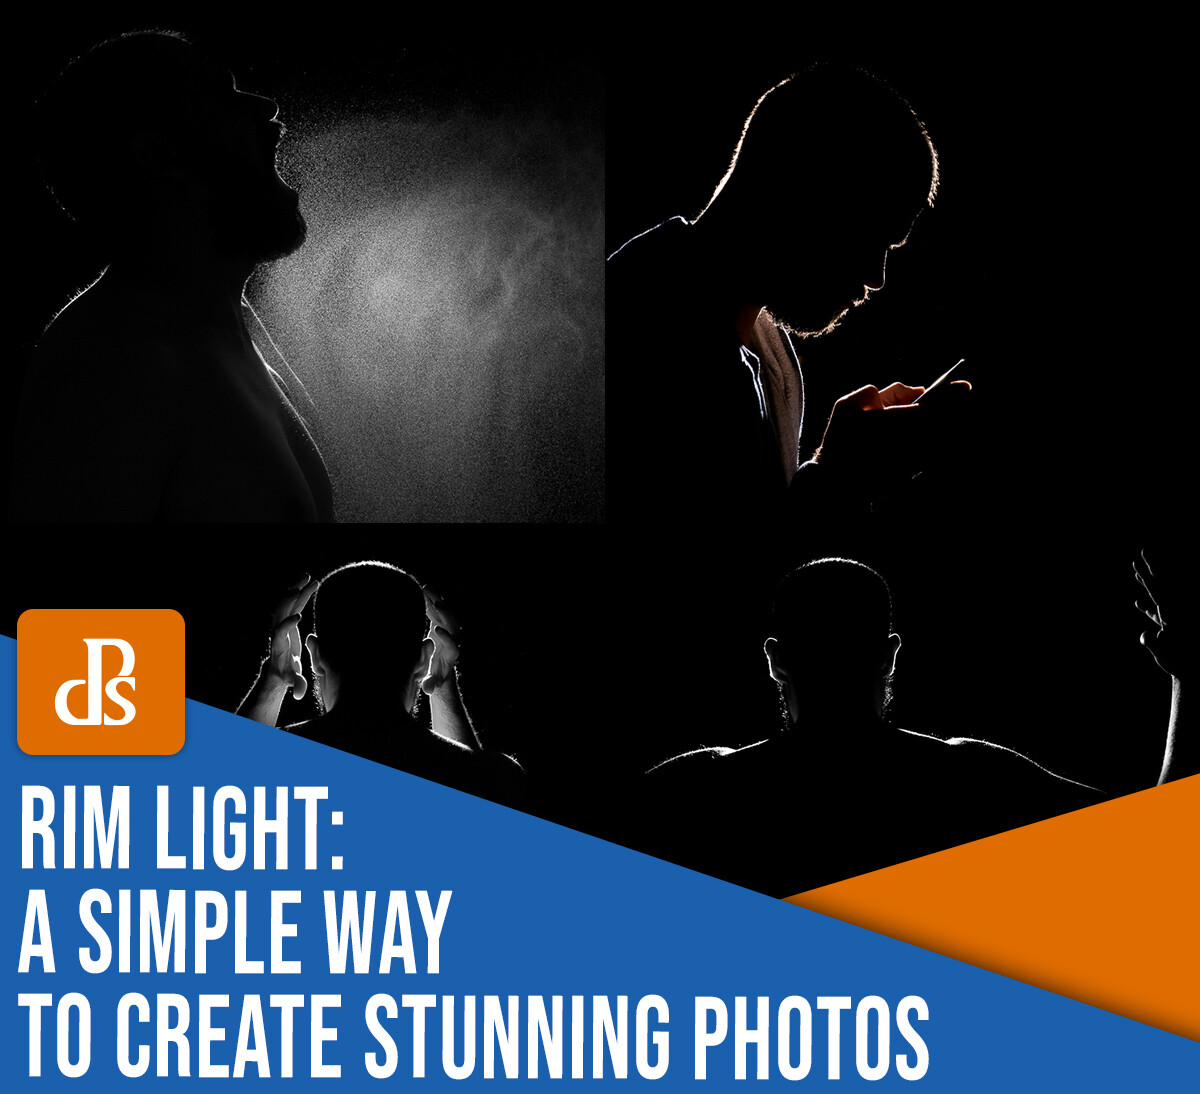
Rim Light: A Simple Way to Create Stunning Photos (With One Flash)
The post Rim Light: A Simple Way to Create Stunning Photos (With One Flash) appeared first on Digital Photography School. It was authored by Andrea Minoia.

In this article, I’ll introduce you to rim lighting – and I’ll explain how to create a rim light with a single flash.
Rim lighting isn’t especially common, but it’s extremely easy to create and will allow you to capture interesting and powerful images like this:

And all you need is an external flash.
(The only other accessory you might want – for added convenience – is a light stand or a tripod to easily keep the flash in place.)
Let’s dive right in!
Learning flash doesn’t have to be hard
If you are just getting started in portraiture, chances are you have been faced with the “flash versus natural light” dilemma, and you probably went with natural light. I find many amateur and beginner photographers are intimidated by lighting equipment because they think that in order to get something good, they have to use complicated setups with many pieces of equipment.
But in my opinion, the problem with learning to use flash is that the easiest possible setup – a single flash used off-camera – is often presented as a way to create a basic image that always needs to be improved by adding more gear and by creating more complicated lighting setups. As if no serious photographer would ever use just one light.
So I can see why flash photography is intimidating.
However, the idea that flash portraits require more than one light to look good is simply false. There are plenty of great one-light setups, including the rim lighting technique I explain in this article.
What is rim light photography?
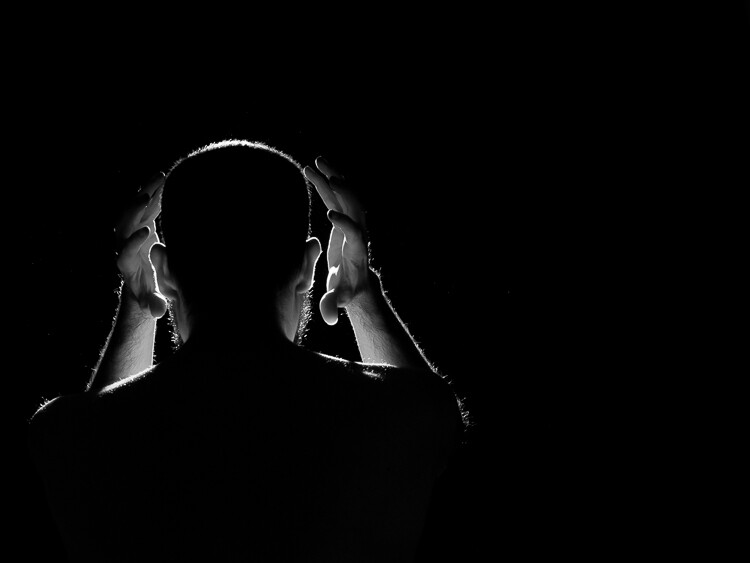
In rim light photography, you create a rim light – that is, a ring of light that goes around the rim of your subject. Like this:
 Rim lighting and a low-key style are a powerful combination.
Note that the flash highlights only the contours of the subject, so the photo looks dramatic and cool and wonderfully graphic.
How to create a rim light
The rim light setup is simple. Just hide the flash right behind the subject, then point it back (so it’s facing toward you, the photographer).
When you fire the flash, it’ll be mostly blocked by your subject. But some light will hit the subject’s edges and make a stunning rim.
You might see rim light photography as the opposite of a silhouette, where the subject is a black shape against a brighter, often white, background:
 Self-portrait silhouette.
In the studio, the light setup for a silhouette is, in fact, the same as that used to create rim light, except the flash is pointing at the background instead of at the subject.
For rim light photography, you ideally want to work only with the rim light and not record any ambient light. However, this does not mean you have to work in a dark room. Your flash power just needs to greatly overpower the ambient light – that way, no ambient light affects the scene.
However, you do need to be careful with the flash output. It’s important that the power is strong enough to obliterate any ambient light, but not so strong that light spills over and around the subject’s edges. You only want light running along the subject’s contours.
 Rim light photography is all about that thin light running along the subject’s edges.
Refine your rim light with editing
Once you’ve taken a rim light shot, do a bit of editing. Make sure the blacks in your image are deep and the highlights are bright. That way, you can get a truly low-key photo, like this one:
 Here, I’ve allowed the light to spill a bit more, so as to light my hands and the mobile phone screen.
And that’s pretty much all the post-processing you need to do!
What I like about this technique is that the resulting photo has a mysterious look that captures the viewer’s imagination.
Adding emotion
Rim light is great for conveying emotions. We had a new baby girl a few months ago, and before the due date, I experimented with a rim light in the living room with my pregnant partner.
I decided to take the usual, very cliché photo of the father kissing the belly of the mother. But while kissing my partner’s baby bump, I had the vision of the sun rising from behind the Earth as seen from space, and I thought, “Use a rim light!”
This is the result:
 Rim light can transform a cliché image into a very moody and interesting one.
I think this simple light setup transformed the same old photographic cliché into a much more powerful and interesting image.
Include special effects in your rim light photos
Because a rim lit scene is backlit, an easy way to add interest is to include smoke or aerosols in the shot. Both will capture the light and scatter it around, creating some interesting effects.
I sprayed water to make this self-portrait shot more interesting:

You can also try to turn the model toward the light and allow the flash to light their front for an interesting result:

Rim light photography: final words
I hope you’ve enjoyed this rim light tutorial. And I hope I’ve given you some ideas for playing with an off-camera flash in a simple and non-intimidating way.
The bonus is that, even as you learn flash, you can create some stunning photos!
Now over to you:
Have you tried rim light photography? Share your images (and tips) in the comments below!
The post Rim Light: A Simple Way to Create Stunning Photos (With One Flash) appeared first on Digital Photography School. It was authored by Andrea Minoia.
By accepting you will be accessing a service provided by a third-party external to https://casite-257362.cloudaccess.net/