Finding People in Lightroom Classic: Part 2
Following up from last week’s post on using People view, let’s wrap things up.
I’m a Blueberry
As LrC indexes what it thinks are faces there will absolutely be some complete fails at recognizing a human face. Apparently, it thinks I resemble a blueberry! You’ve just got to laugh when these occur as they are easily fixed (and I did tell you this would put a smile on your face).

You can double-click a thumbnail to switch to Loupe view and more clearly see where the face regions were drawn by LrC. In this view you can re-draw a face region by clicking and dragging a box around an actual face or click on a drawn face region and press Delete to get rid of misfire (as in this case).
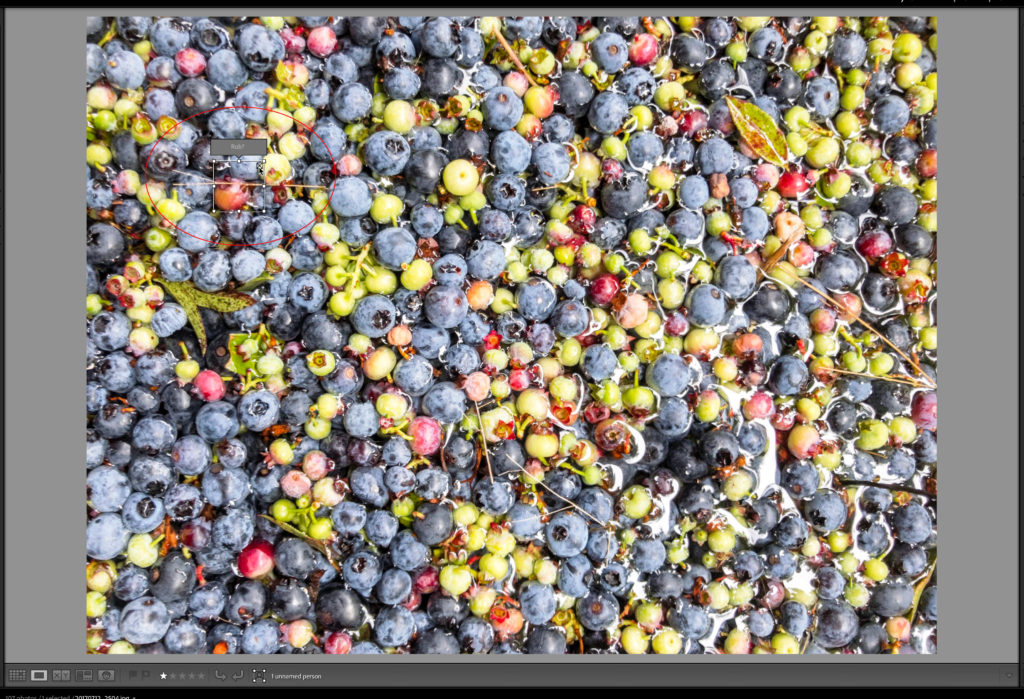
In some cases of photos with multiple people you may want to view the larger version to ensure the right name is associated with the right face region. You can click right into the field that appears above the face region and enter a name. Just as when you are in thumbnail view, it will auto-complete the name if that person keyword already exists.
People Keywords
In the end, face recognition is just a method to assist us in manually applying special people keywords to our photos. The names we enter are added to the Keyword List panel just like any other keyword. Unlike regular keywords, people keywords can be filtered using the buttons at the top of the Keyword List panel (click the disclosure triangle there if buttons are not visible), so that only your people keywords are shown.
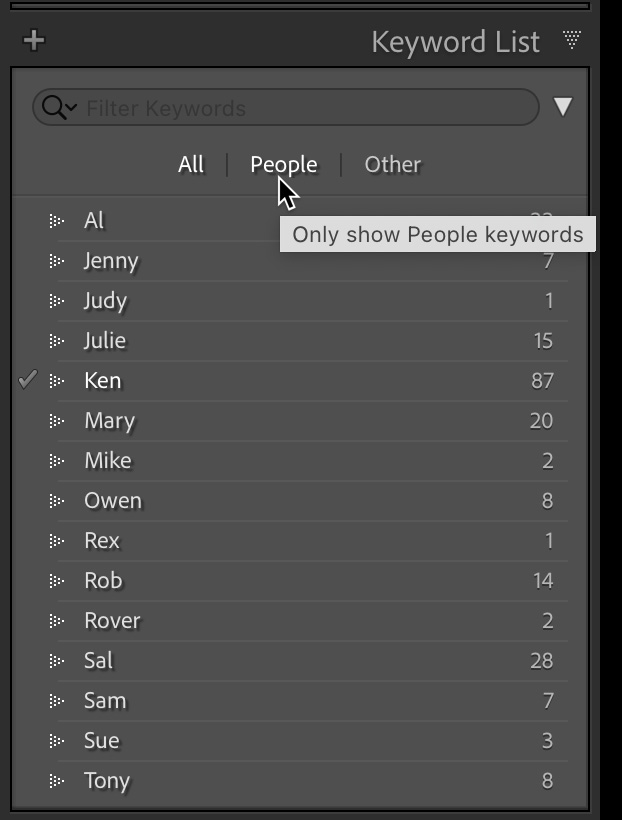
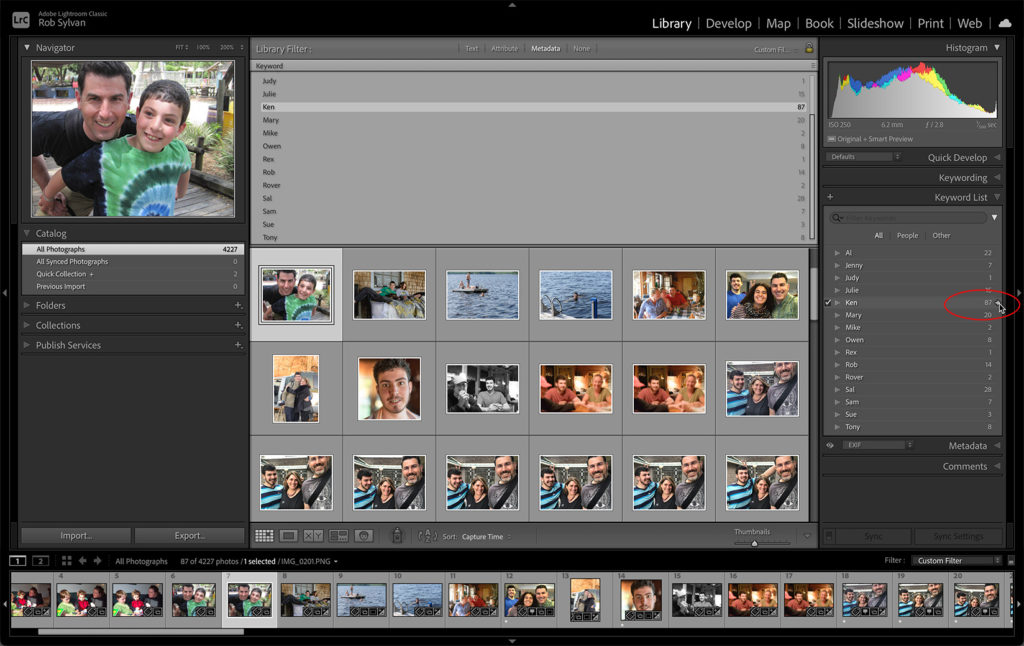
You can then easily gather up all photos of a person by clicking the arrow to the right of the desired person’s name. This will switch the contents to All Photographs and filter out all photos containing that keyword.
You can edit a person keyword just like any other keyword by double-clicking it in the Keyword List panel (or right-click and choose Edit Keyword Tag. Here you can correct any typos or capitalization mistakes or change the attributes of the tag.
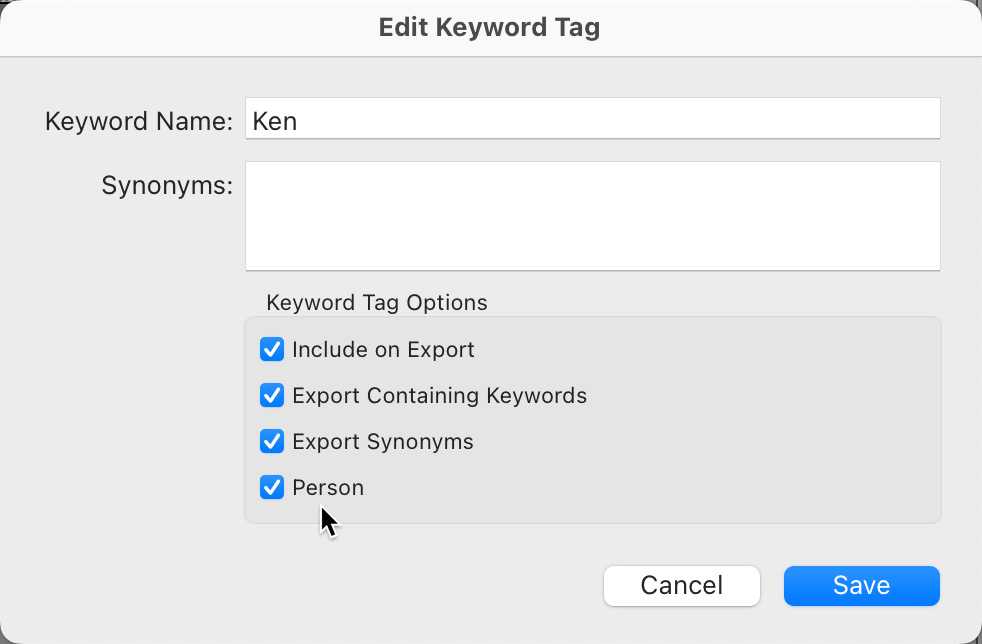
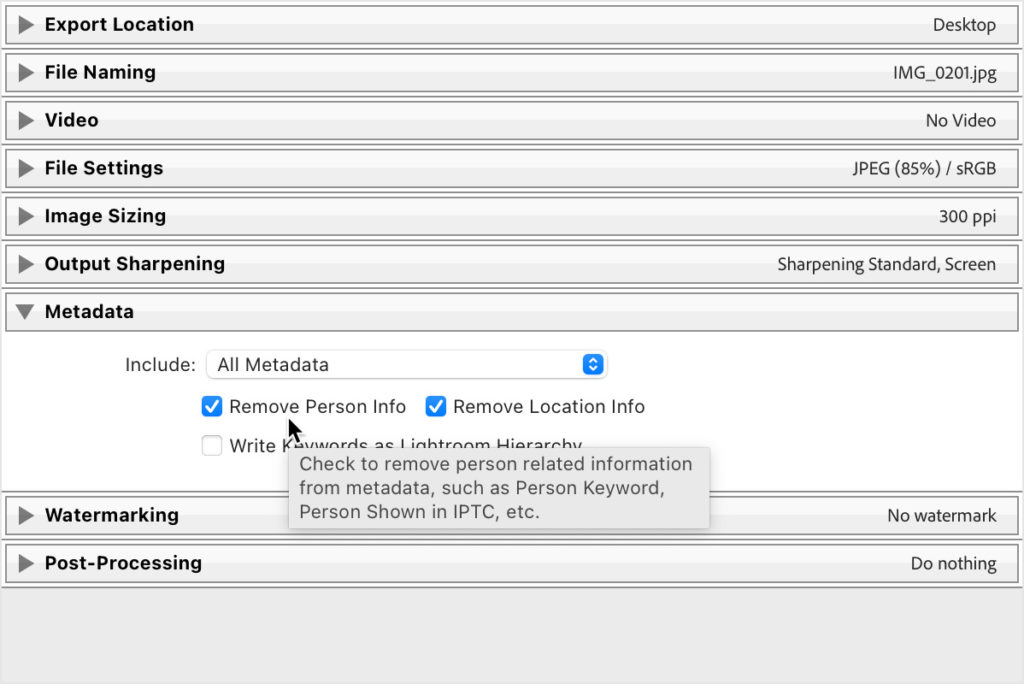
People keywords are treated differently than regular keywords to help protect people’s privacy so that these types of keywords can be easily stripped out during export without removing non-people keywords. Likewise for privacy reasons I didn’t include any last names on any of my example person keywords, but in my real catalog I use first name last name to differentiate one Rob from another Rob in my library. The more person tags you apply the faster the whole process goes and before you know it you’ll likely be transported down memory lane as I was looking at all the photos of friends and family.
I hope you’ll join me at Photoshop World!
I’m excited to be part of the amazing roster of instructors at this year’s Photoshop World, from August 30th to September 1st. It is all virtual (hopefully for the last time), so you can tune in from where ever you are. You’ll get 3 full days of multiple tracks of learning on Photoshop, Lightroom, and photography. You can even rewatch sessions for a year after its over, so if you miss any part of the live event you can always catch it later. Register and take your skills up a few more notches!

The post Finding People in Lightroom Classic: Part 2 appeared first on Lightroom Killer Tips.
By accepting you will be accessing a service provided by a third-party external to https://casite-257362.cloudaccess.net/